Hello lovely people 🙂
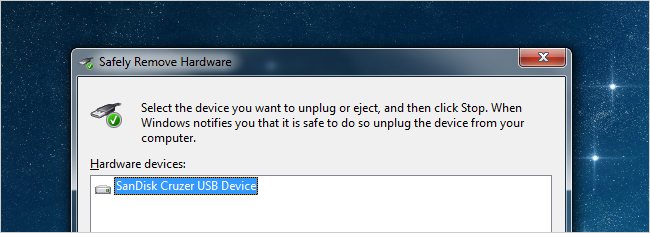
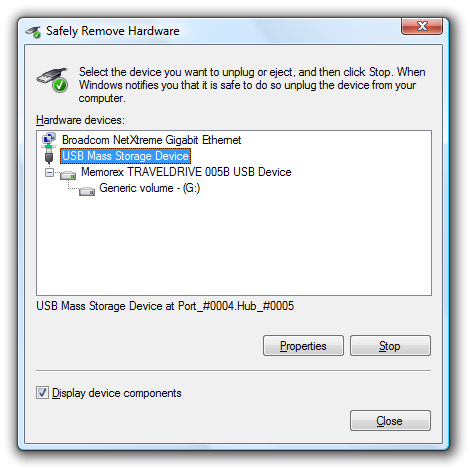
You would be well aware of the *Safely Remove Hardware* icon that sits in your icon tray when you remove USB devices such as flash drives. If you are not, not to worry, because we do not like it anyway. And in this computer repairs blog I will show you how to create a short cut that avoids that icon altogether.
The problem we have with this is that the icon is small and having to click on it to bring up the menu can be a pain. The question is – can’t we just make a shortcut that will bring up the dialog? The answer is – yes we can. And is it a lot easier than trying to click on the icon in the tray.
Please be aware that this doesn’t seem to work very well in Windows 7 so if it doesn’t work it’s not that you have done anything wrong.
How to create a Shortcut to the Safely Remove Hardware Dialog
The first step is to right-click anywhere on the desktop and choose New Shortcut:
In the location box just paste in the following:
RunDll32.exe shell32.dll,Control_RunDLL hotplug.dll
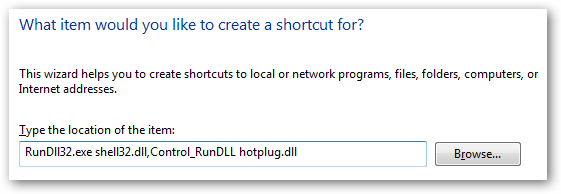
 All you need to do next is give it a name and you have created your shortcut icon.
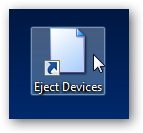
 This will allow you to pull up the Safely Remove Hardware dialog.
If you would like to assign a shortcut key for this dialog you can right click on the icon, open *Properties* and then go to the Shortcut tab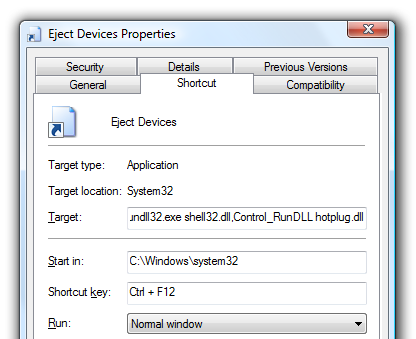

Just add in the shortcut key and close the dialog, as long as you have the shortcut key on your desktop you shouldn’t have to restart anything for the hotkey to work. If you want, you can also move the shortcut to another folder, for instance to your quick launch bar.
Well, now you know everything 🙂 Good luck in your computer repairs DIY exploits.
Over and out
MobileGeekette


